
If you have never heard of Milk Bar Bakery you need to start your Googling now! I discovered it from watching Netflix – Chef’s Table: Pastry, Episode 1: ‘Christina Tosi’. Christina is my spirit animal! Feisty, sweet and full of fun! She truly is inspirational.
I decided for my birthday this year to recreate her bakery favorite – Birthday Cake – as a treat to myself. HUGE DISCLAIMER – I have never liked funfetti cake. There is something about it that just isn’t my style, but who could resist the bright colors of sprinkles – and it has a MILK CAKE SOAK and CAKE CRUMBS! So Happy Birthday to me!! I decided to go all in and recreate her colorful, sweet and fabulously fun cake.

Christina uses clear vanilla extract in her recipe, which she states gives the cake and frosting that boxed mix and canned frosting flavor, but homemade. I do agree with her that it gives that “extra” over-the-top vanilla flavor that is reminiscent of a box mix, however, this is WAY BETTER than a box mix and canned frosting. SO MUCH BETTER!
I looked over the ingredient list and had most items at home, but I did not follow the recipe to the letter. The recipe is a little long in how they have it written, as it includes assembly instructions, but it’s well worth the read to get to the “cake” of the recipe.

I eventually decided to make this batter into cupcakes so that I could share at work! They got rave reviews! I made a double batch of cake, which made 25 cupcakes, and a double batch of frosting, and I had six cupcakes that didn’t get frosted. I would definitely triple the frosting for cupcakes – as this cake is a “naked” frosted cake, so there isn’t a lot for piping – which is my favorite way to frost cupcakes.

Making cupcakes is less time intensive as they cool quicker and you don’t need some of the extras – acetate and a cake ring. Since I didn’t have all the ingredients, I made do with what I had, and it didn’t disappoint, so don’t let laking a few ingredients or hardware items stop you from trying something NEW. I didn’t have citric acid, grape seed oil and glucose, so I used light corn syrup instead of glucose and vegetable oil instead of grape seed. I omitted the citric acid.

I LOVE the crunch that the cake crumbles add to this cupcake, and the cute and simple decoration they provide! This cake and frosting really ticks all the boxes for me! It’s a soft and moist cake, with the sprinkles giving it a slight crunch of texture. The frosting is smooth and slightly tangy, and we’ve already given much love to the cake crumbles.
I highly suggest making this recipe just because – it won’t disappoint! Don’t let the recipe name “Birthday Cake” keep you locked in for baking it just for a party. Make this cake just because you want to smile or put a smile on someone else’s face!


 Usually I like a double crust apple pie served warm with a scoop of vanilla ice cream, but for this pie I wanted more texture to go with the salted caramel. A crumb topping was the way to go! I also chose to put the caramel on top of the crumb topping after the pie had cooked. I wanted to ensure the flavor would be prominent and to keep the bottom of the pie from being too soggy with extra moisture in the center.

 It smells so amazing when it is done! Salty, Sweet, Gooey, Crunchy goodness. My four favorite food groups covered! This fall favorite will be a great addition to your Thanksgiving desserts or just because!

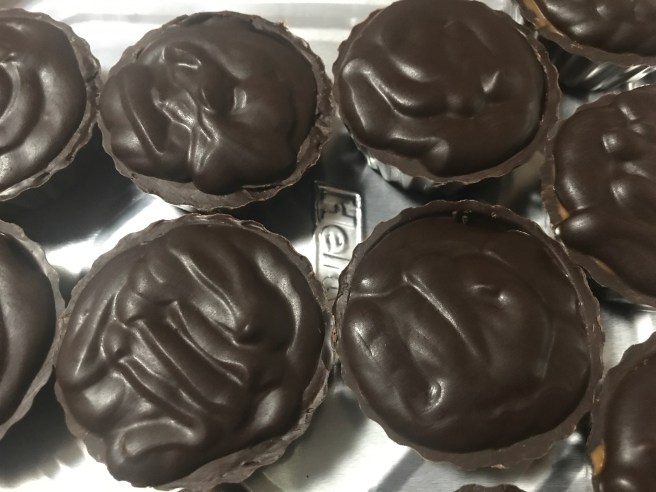 You can make the chocolate cups with a candy mold and tempered or compound chocolate, OR you can buy ready made ones at your local grocery store. I filled them with Biscoff Cookie Butter Smooth Spread and topped with dark chocolate ganache.
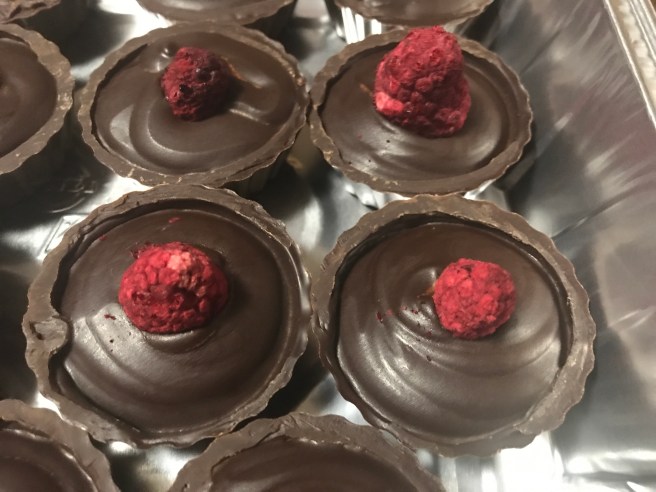 I also made ones that I filled with just the ganache and topped with a freeze dried raspberry. I used my
 I was driving to work this morning mulling over what I could write about today on my blog if I only had a few minutes to do so and inspiration hit while listening to K-Love. They were talking about how Amy’s son who is in fifth grade had an assignment to pick three things that described him as a person – he picked a football picture, a Yoshi (Mario character) and his bible. There was a small discussion on what each deejay would pick if it were them, and materialism was brought up. Do these things that describe us DEFINE us?
 I was already thinking while they were talking, and my kids and my faith were definitely on my list. They most certainly help mold me into who I am as a person – although neither are materialistic. I have been asked many times why I love to bake by different people I have in my life. I have written about it on my blog as well.
 My materialistic item would some sort of baking tool – like a whisk or a piping bag and tip. What a crazy materialistic item, right? Not only is this a physical item – it describes me well, AND it also can define me, and I am totally okay with that.
 Baking is a passion for me. I like to try new recipes and flavors, I like to reminisce with old favorites, and each thing I bake becomes a dot on the timeline of my life. I like to surprise friends and family with sweet treats – either on special occasions or just because. I like how something as small and simple as a cookie or cupcake can bring a genuine smile to someone’s face and brighten their day; and it lets me spread a little bit of love and joy to each person who partakes in my sweets. It is the little things in life that can make the biggest impact. I tell this to my girls all the time, along with “you never know what someone else’s home life is like, so be kind, even if they aren’t.” I am completely okay if someone thinks of my name and baking comes to mind or sweet treats, or anything of that nature. It would tickle me pink if part of my legacy left behind are recipes I have loved and/or tweaked to make my them my own.
 I promise my hiatus from blogging isn’t because I haven’t been baking! Even though life has been crazy busy I still make sure I have time to do what I LOVE! I have made many delicious cupcakes for birthdays and yummy potluck desserts for the office and friends, and my favorite thing so far this summer – THE WEDDING DESSERTS FOR MY BEST FRIEND ❤
 This was truly an honor. They not only trusted me to “design” what was made and the table setting, but also to get 150ish desserts done, drive 2 hours and set it all up. I am forever grateful for this experience!
 Always make time for what you love and those you love! There may come a time when you are unable to do the those things, and those we love will not always be around. Make the most of the time you have and be the best you that you can be. What will people remember you for? It costs nothing to be kind.


 Directions:
 Now, in all honesty, you can make these gummies with any drink you choose. I used a pink moscato for my trial batch. Next will probably be a prosecco batch. You can also use any silicone mold shape to fit your occasion, and you can use candy flavoring to give your gummies a punch. Many recipes I found online include a Sparkling Wine candy flavoring – which you can order via online.
 Ingredients:
 Directions:
 Keep in mind:
 I knew when I decided to participate in the auction that I would make a candy cake – as those are always a big hit – I mean come on … who doesn’t love them some candy! The second cake I decided on the “Lumberjack Cake,” which has not only taken the internet by storm, but also has been tagged with my name on Facebook many times by friends and family. I decided to forgo the axe and use simple ribbon to accent this great looking cake.
 For those who are not familiar with the “Lumberjack Cake” it is a red and black checkered cake to simulate plaid and the outside looks like a tree stump. For obvious reasons, I didn’t cut into the cake to see the checkered effect, but I will be making another one in the very near future just so I can cut it open and see it!
 This recipe frosts 24 regular cupcakes OR 12 extra large cupcakes with a 1:1 ratio of frosting to cupcake! You can half this recipe and probably be just fine.
 piping tip, however, I don’t suggest doing this at 9:30 p.m. (lesson learned!) or you may be up awhile. I don’t drink coffee, but if it tasted as good as this buttercream, I may just start!