There is a social media post challenging people to post something they hate that everyone else loves, have you seen it?
I think peanut butter and chocolate is one of the worst food combinations. I also think pumpkin spice is extremely over rated. Every time you turn around something that shouldn’t has pumpkin spice on the box!
During the fall months I would much rather a hot apple cider than a pumpkin spice latte. Give me apples and cinnamon over pumpkin any day!
I love salted caramel too – I have loved it for a long time – before it became a “fad” food. I also love it with apples and this Salted Caramel Apple Crumb pie is a winner!
 Usually I like a double crust apple pie served warm with a scoop of vanilla ice cream, but for this pie I wanted more texture to go with the salted caramel. A crumb topping was the way to go! I also chose to put the caramel on top of the crumb topping after the pie had cooked. I wanted to ensure the flavor would be prominent and to keep the bottom of the pie from being too soggy with extra moisture in the center.

Preheat your oven to 350 degrees F. Line a baking sheet with foil (trust me! Pies bubble over.)
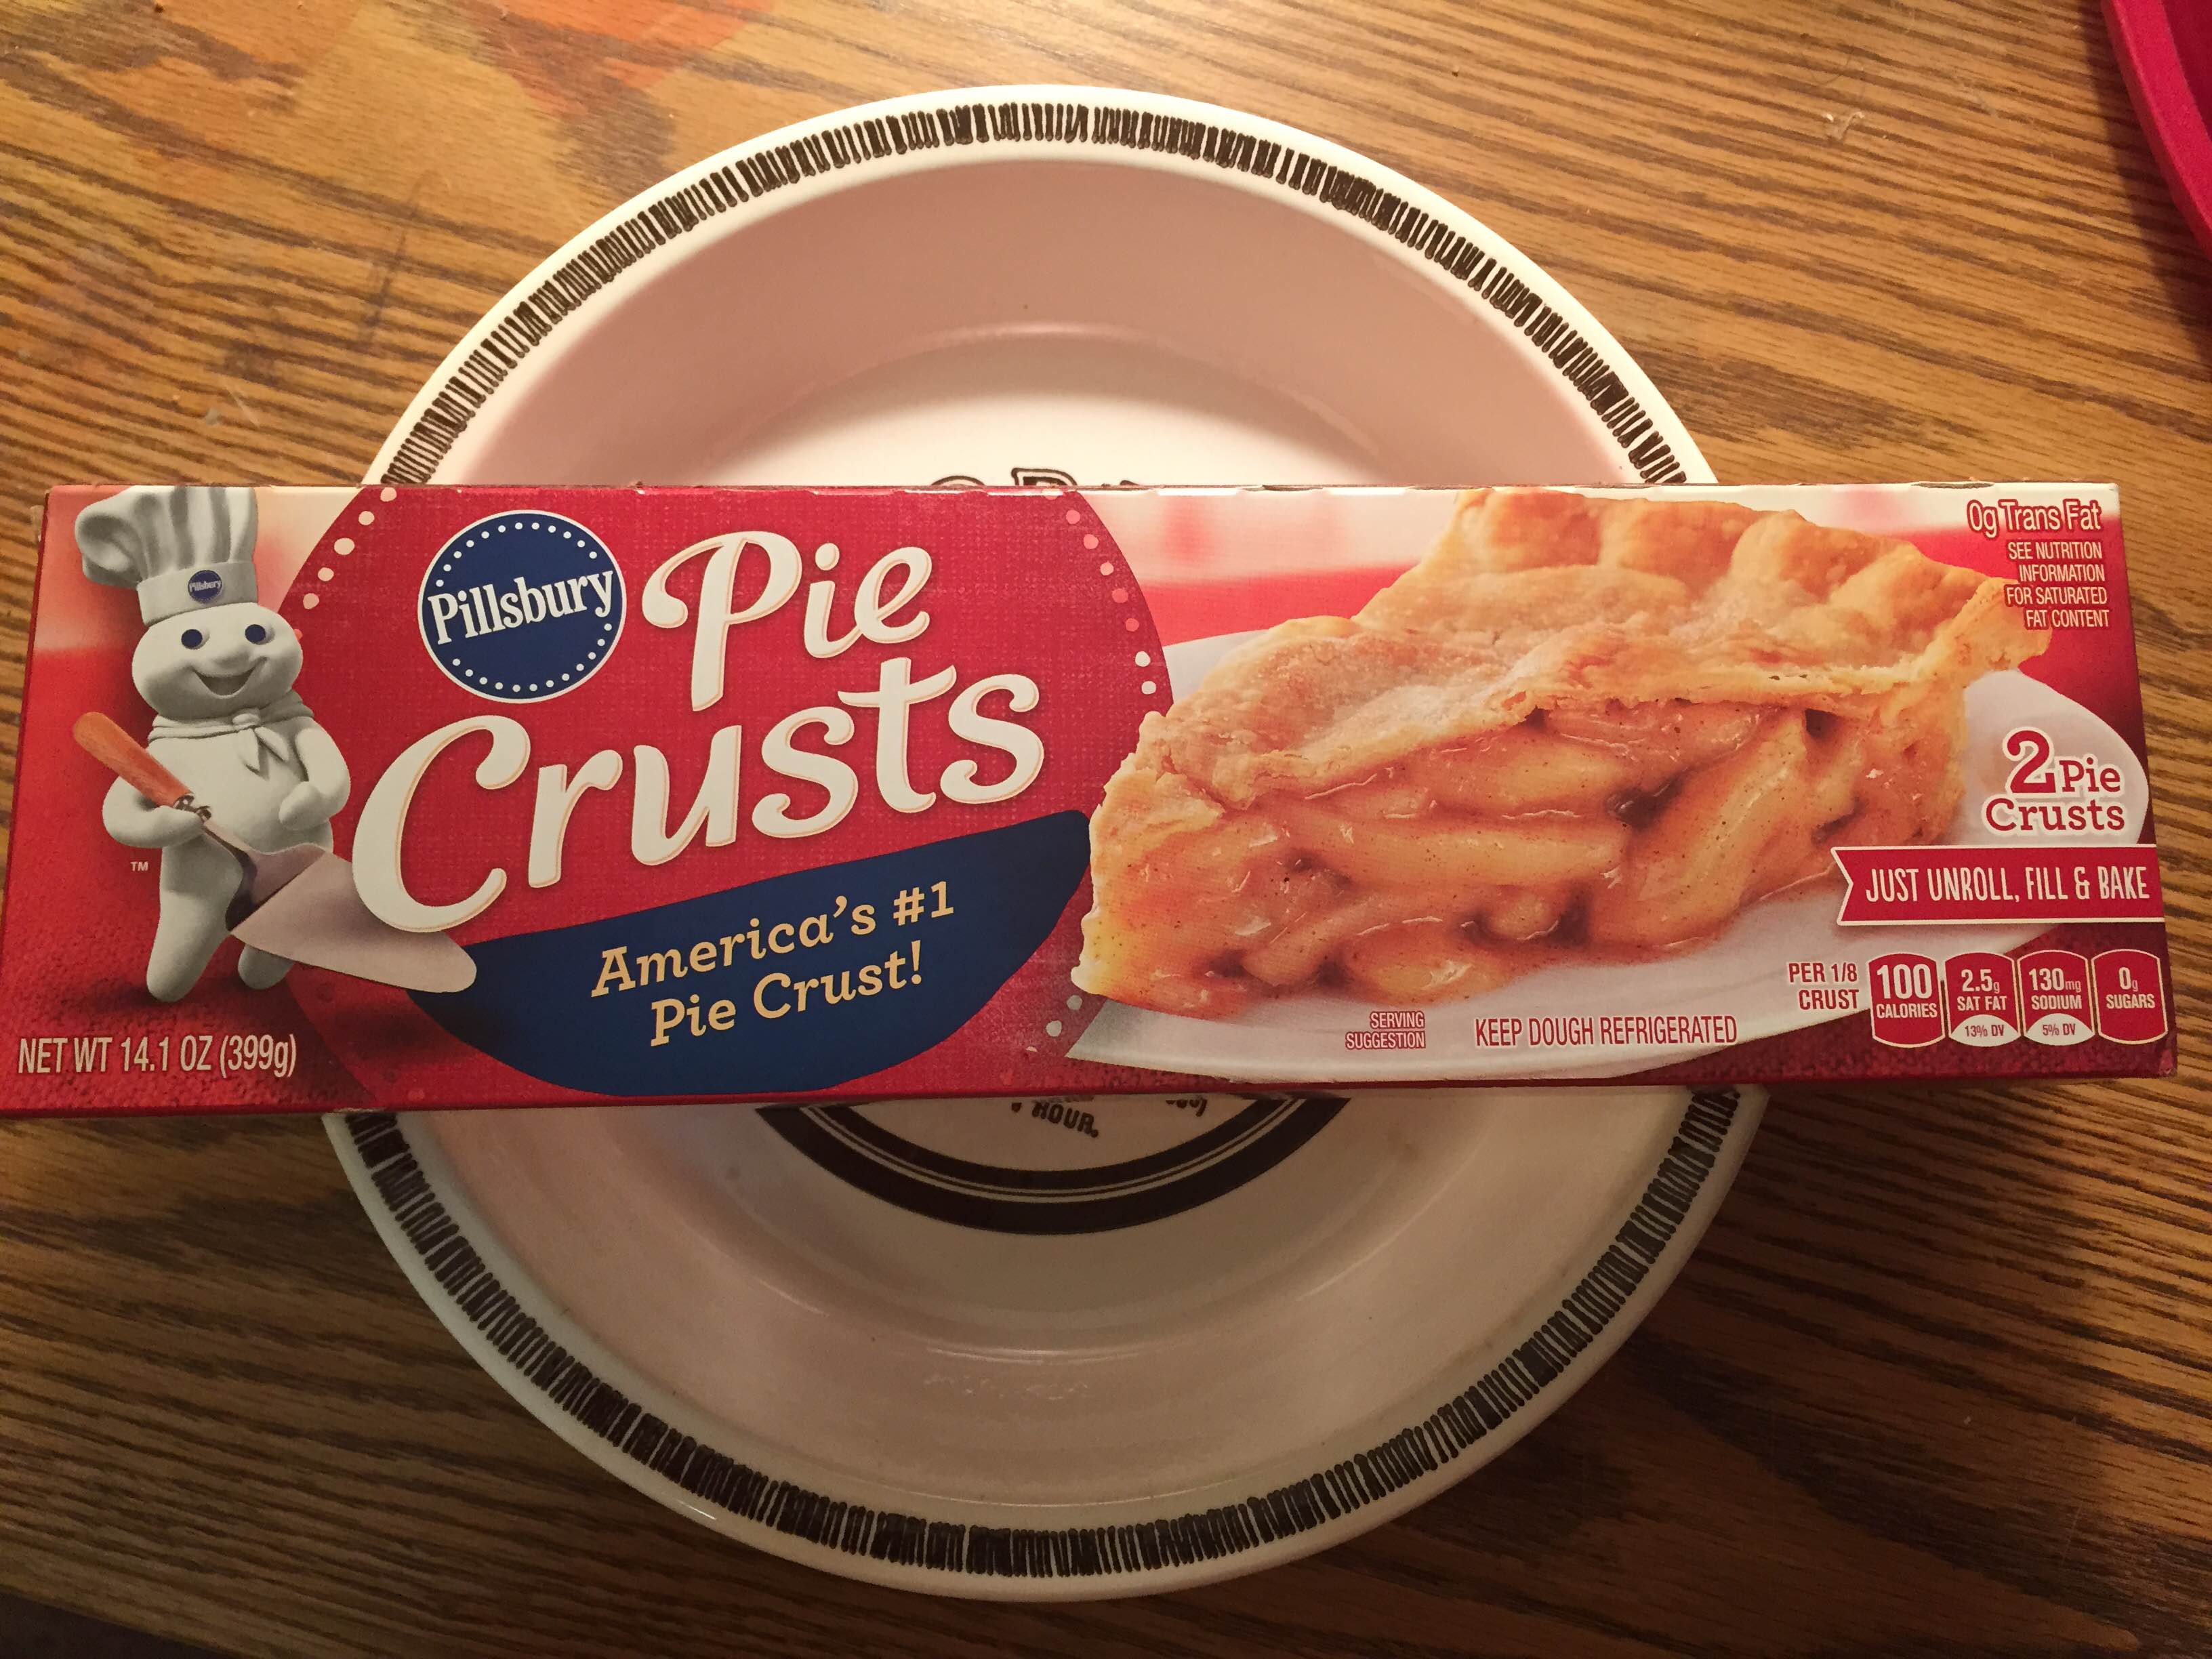
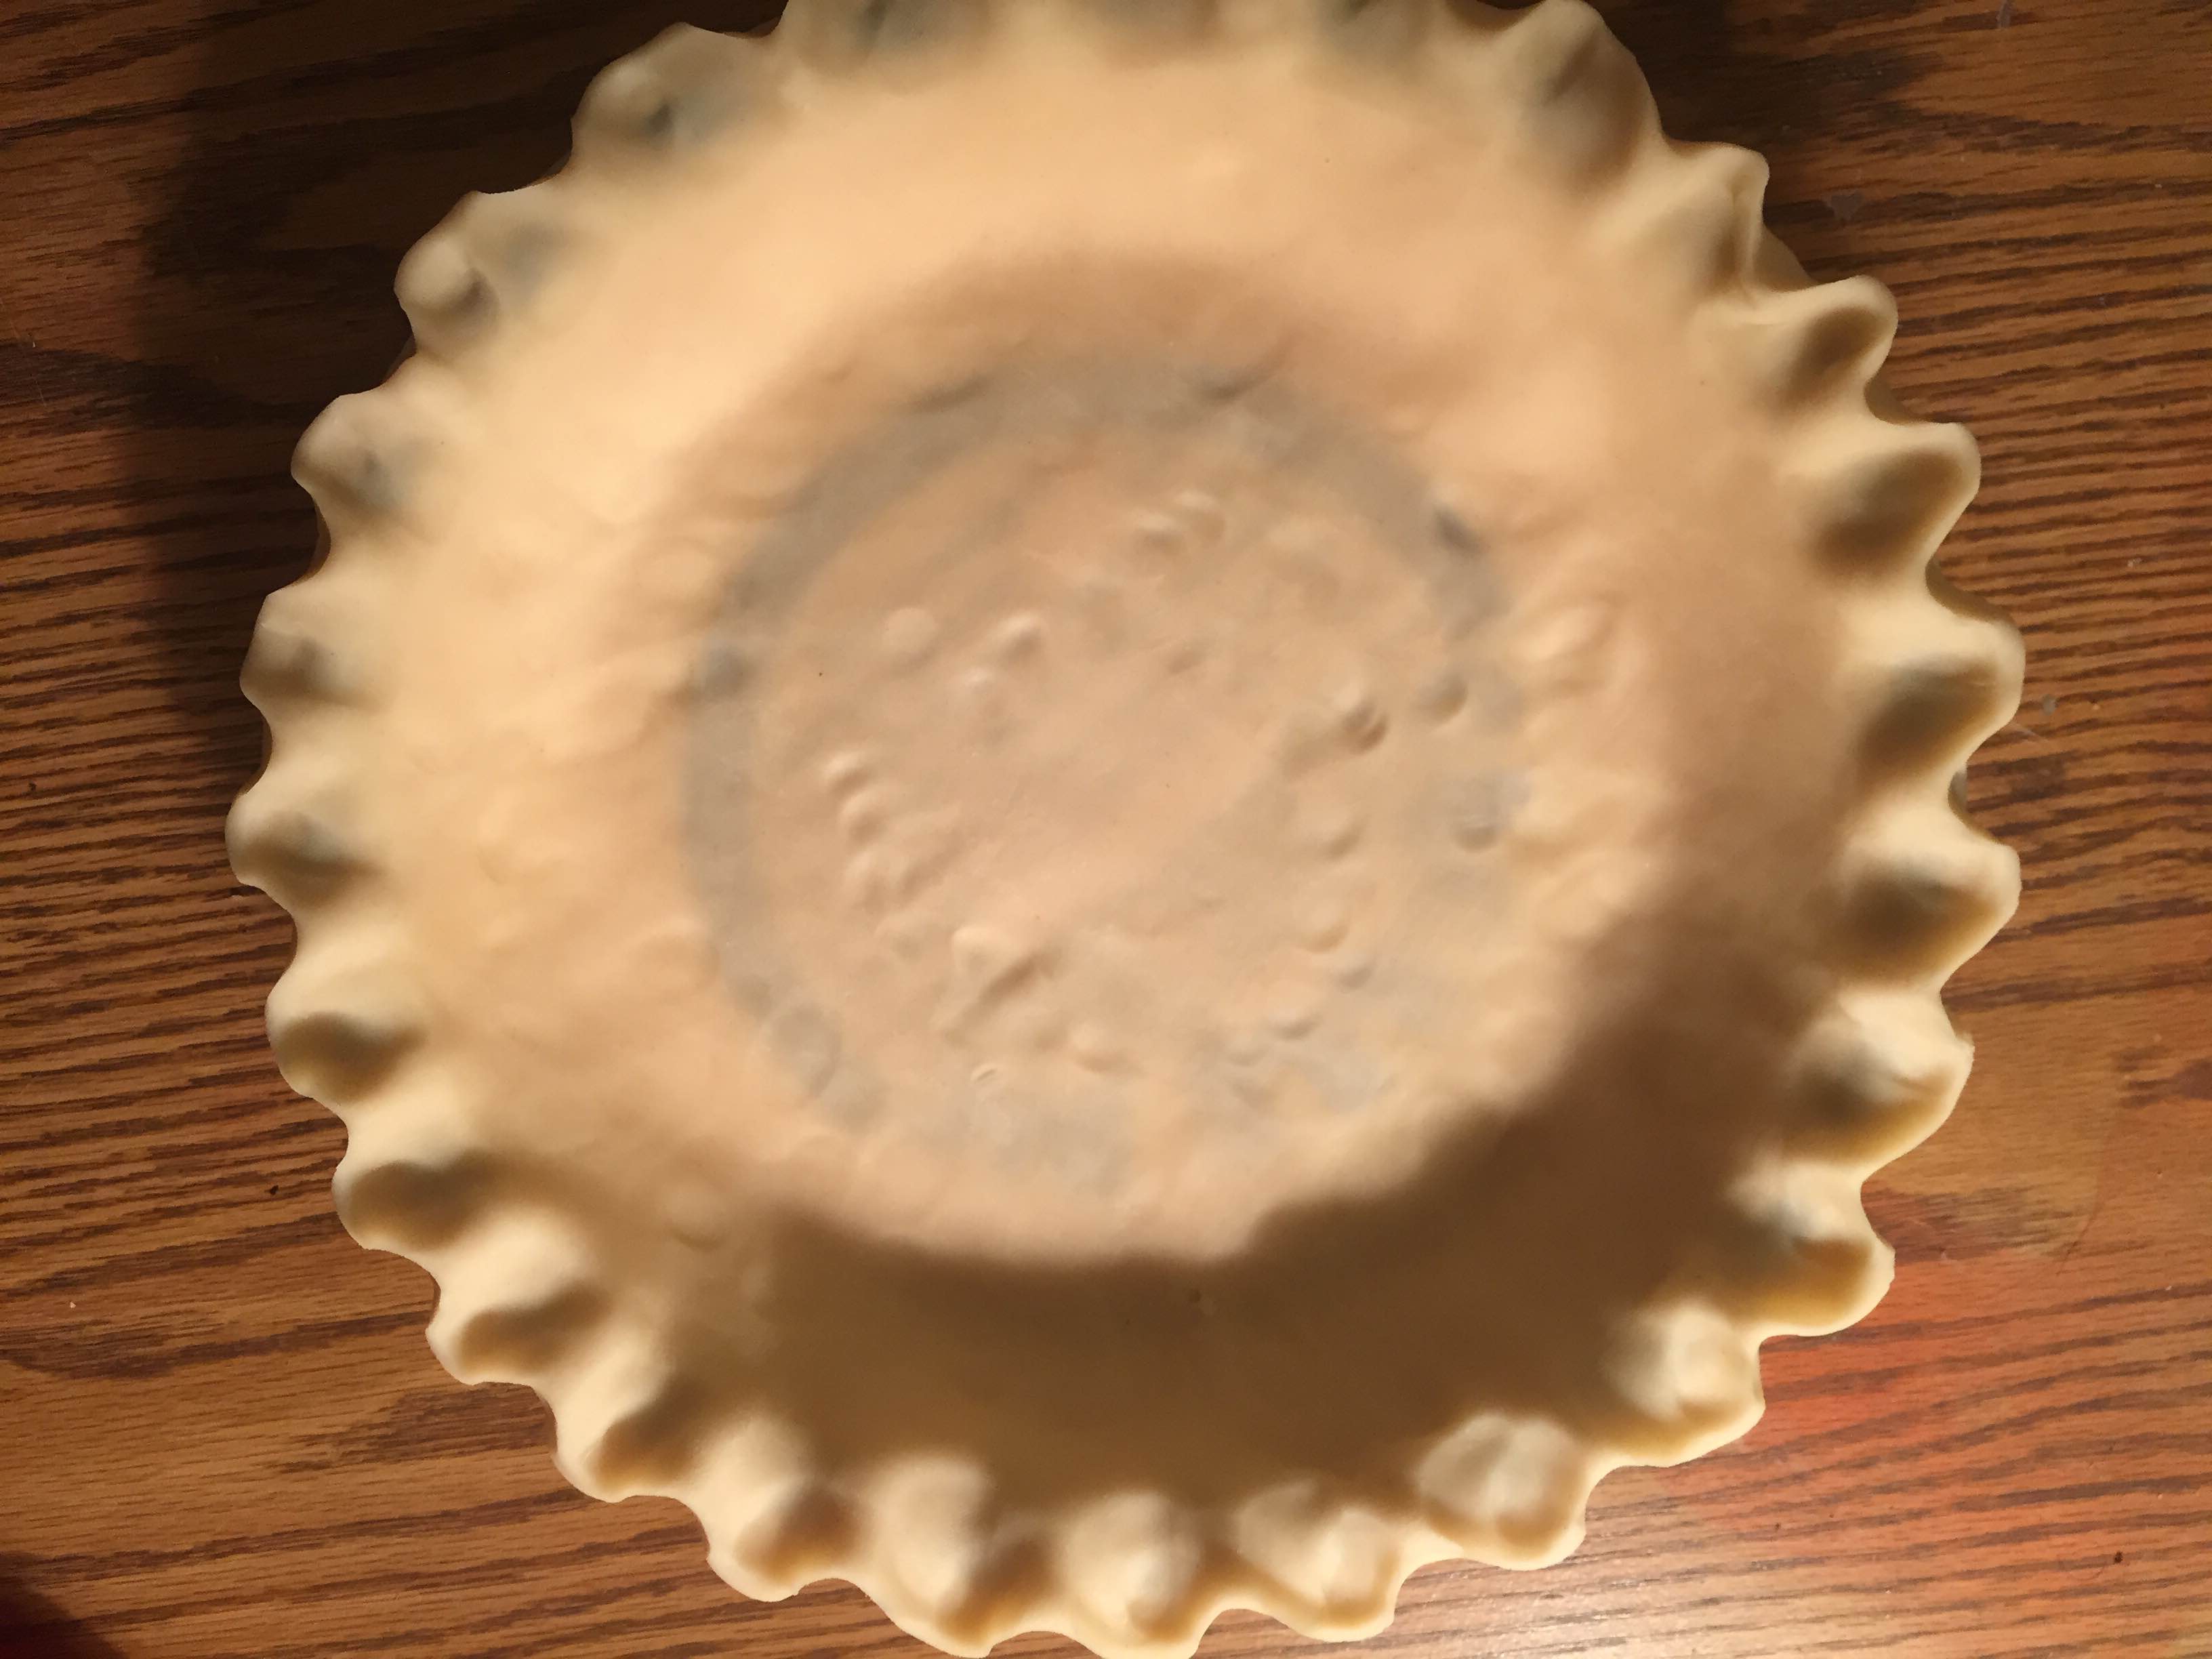
Use your favorite pie crust recipe or a store bought crust. Place the pie crust into a deep dish pie plate. Crimp edges with your preferred method. I like using my fingers.
A batch of salted caramel either homemade or store bought. You can even use a jar of dulce de leche and add sea salt to taste. This will be added after the pie is done cooking.
7-8 good size apples of your favorite variety, peeled and sliced. Granny Smiths work really well because the tartness helps balance with the sweetness. Add sliced apples to a large bowl. Coat with 1/4 cup lemon juice. Add 1/2 cup white sugar, 1/4 AP flour, 1/4 tsp. salt and 1 1/2 tsp. apple pie spice. Mix well and pour into pie shell making sure to level the apple mixture.
In another large bowl add 1 1/2 sticks softened unsalted butter, 1/2 cup quick oats, 1 cup of packed light brown sugar and 1/4 tsp. salt. Mix until all combined. Use hands to break up the crumble topping and place on top of the apple mixture.

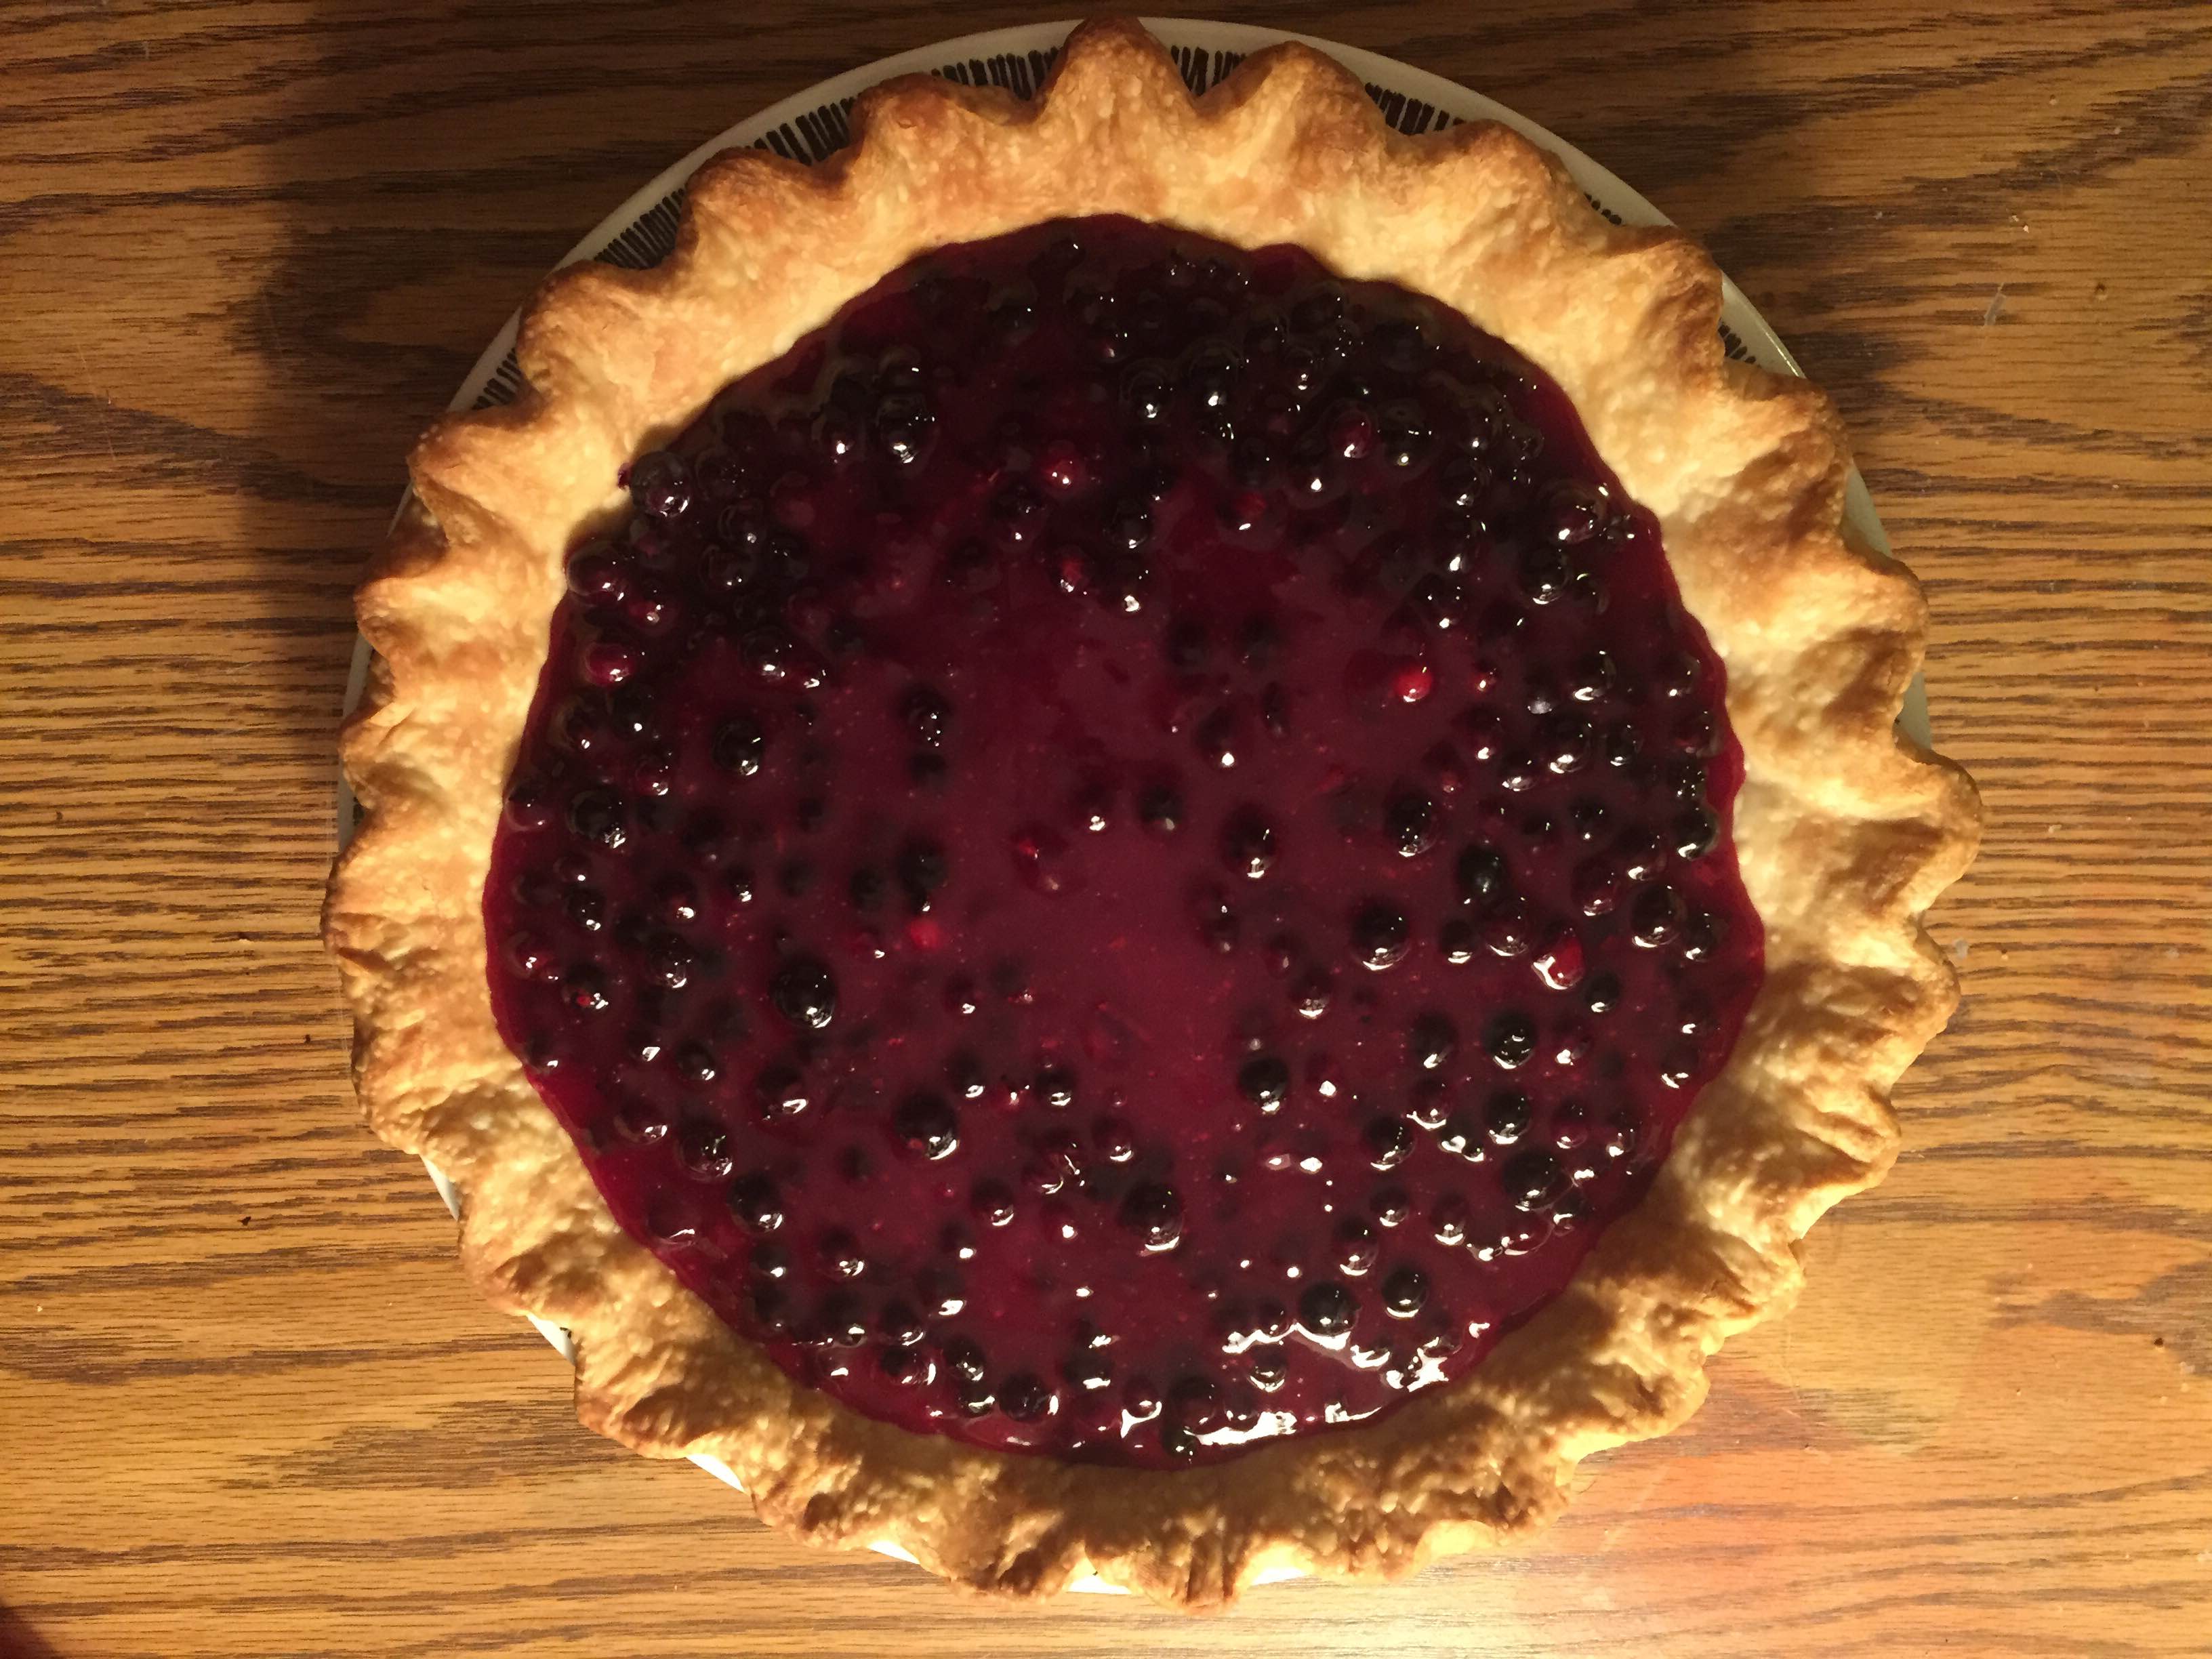
Bake for roughly one hour until crust and topping have browned and the juices from the pie a bubbling. If you need to cover the crust edges with foil to keep from over cooking and/or burning, do so.
Once cooked remove from oven and cool on a wire rack for about 15-20 minutes before adding the salted caramel. The longer you let the pie cool the more the caramel will stay on top of the crumb topping and will be harder to spread – depending on your caramels consistency.
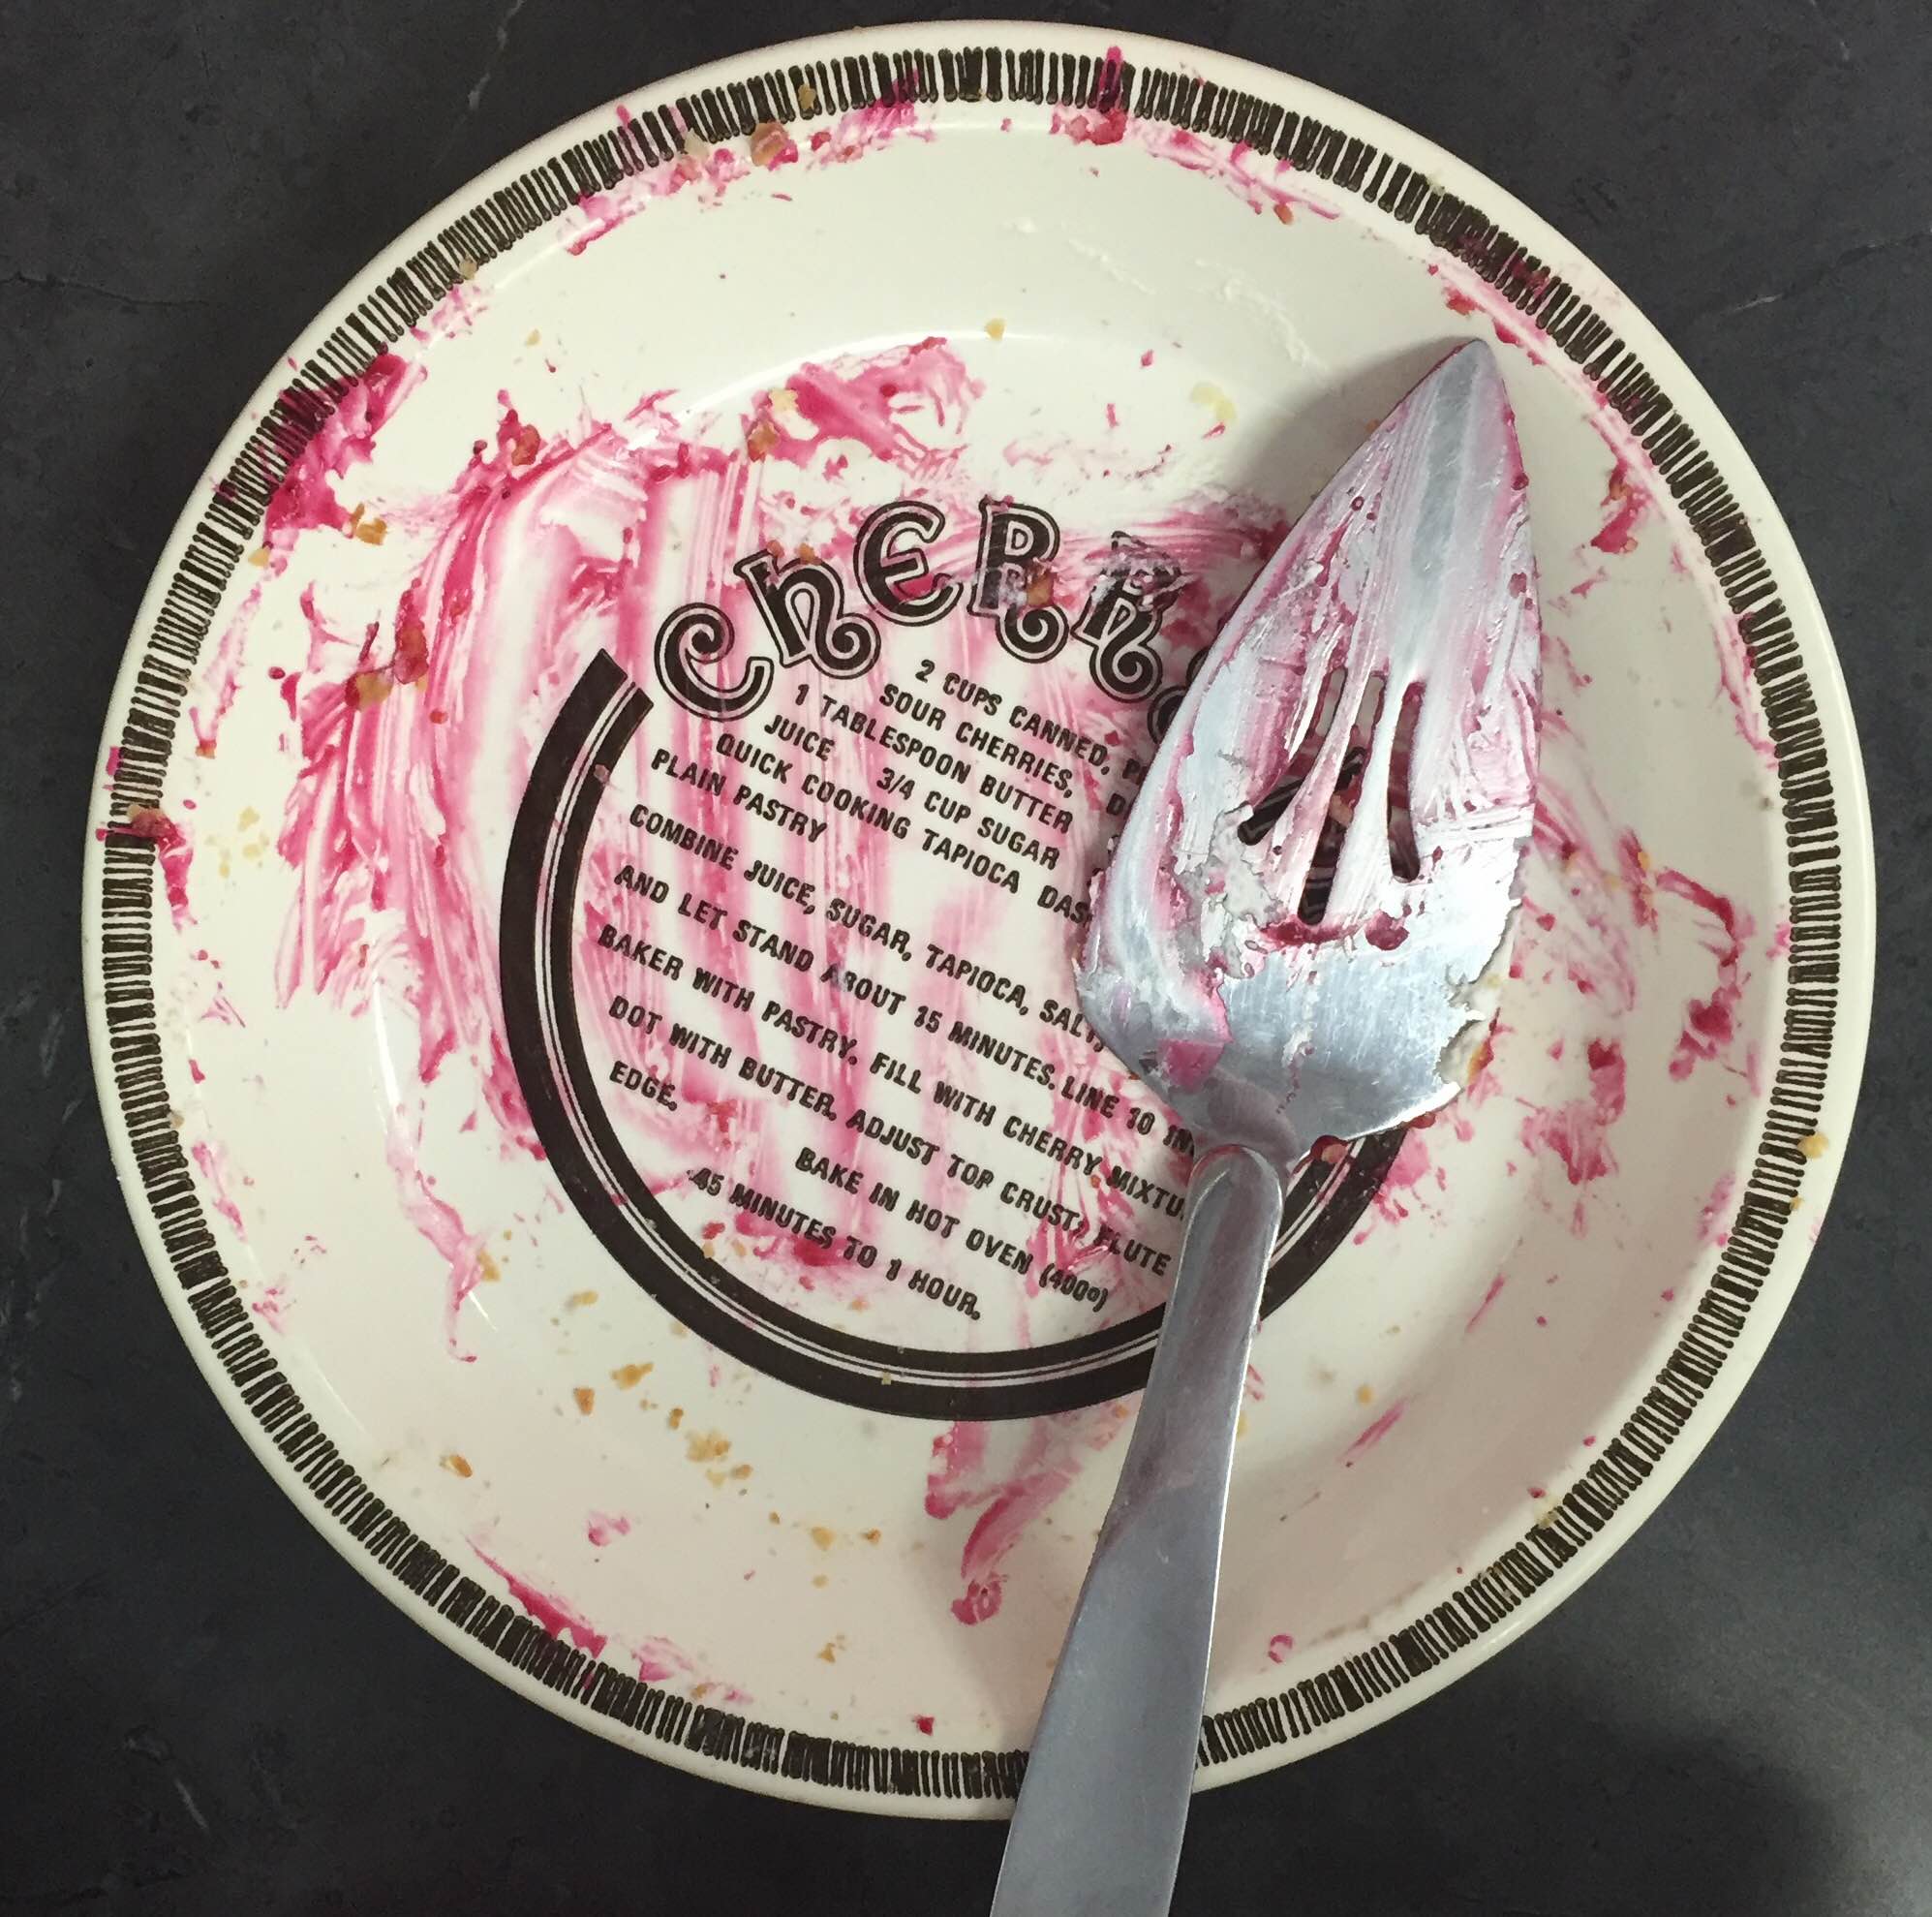
 It smells so amazing when it is done! Salty, Sweet, Gooey, Crunchy goodness. My four favorite food groups covered! This fall favorite will be a great addition to your Thanksgiving desserts or just because!
Enjoy!

 I was driving to work this morning mulling over what I could write about today on my blog if I only had a few minutes to do so and inspiration hit while listening to K-Love. They were talking about how Amy’s son who is in fifth grade had an assignment to pick three things that described him as a person – he picked a football picture, a Yoshi (Mario character) and his bible. There was a small discussion on what each deejay would pick if it were them, and materialism was brought up. Do these things that describe us DEFINE us?
 I was already thinking while they were talking, and my kids and my faith were definitely on my list. They most certainly help mold me into who I am as a person – although neither are materialistic. I have been asked many times why I love to bake by different people I have in my life. I have written about it on my blog as well.
 My materialistic item would some sort of baking tool – like a whisk or a piping bag and tip. What a crazy materialistic item, right? Not only is this a physical item – it describes me well, AND it also can define me, and I am totally okay with that.
 Baking is a passion for me. I like to try new recipes and flavors, I like to reminisce with old favorites, and each thing I bake becomes a dot on the timeline of my life. I like to surprise friends and family with sweet treats – either on special occasions or just because. I like how something as small and simple as a cookie or cupcake can bring a genuine smile to someone’s face and brighten their day; and it lets me spread a little bit of love and joy to each person who partakes in my sweets. It is the little things in life that can make the biggest impact. I tell this to my girls all the time, along with “you never know what someone else’s home life is like, so be kind, even if they aren’t.” I am completely okay if someone thinks of my name and baking comes to mind or sweet treats, or anything of that nature. It would tickle me pink if part of my legacy left behind are recipes I have loved and/or tweaked to make my them my own.
 I promise my hiatus from blogging isn’t because I haven’t been baking! Even though life has been crazy busy I still make sure I have time to do what I LOVE! I have made many delicious cupcakes for birthdays and yummy potluck desserts for the office and friends, and my favorite thing so far this summer – THE WEDDING DESSERTS FOR MY BEST FRIEND ❤
 This was truly an honor. They not only trusted me to “design” what was made and the table setting, but also to get 150ish desserts done, drive 2 hours and set it all up. I am forever grateful for this experience!
 Always make time for what you love and those you love! There may come a time when you are unable to do the those things, and those we love will not always be around. Make the most of the time you have and be the best you that you can be. What will people remember you for? It costs nothing to be kind.
 For the Key Lime Curd:
 For the Cinnamon Cupcakes:
 After letting my cupcakes cool, I used a large piping tip to hollow out the center of my cupcakes to make a good size whole for the curd to go into. I then piped a generous amount of frosting on top and sprinkled with gold luster dust for a pop of color and pizazz. These are birthday cupcakes after all!
 Directions: